Table of Contents
Download and Install BitComet
Download BitComet
BitComet can be downloaded from the official website by:
1) left-click the download icon on the web page to download the latest version.
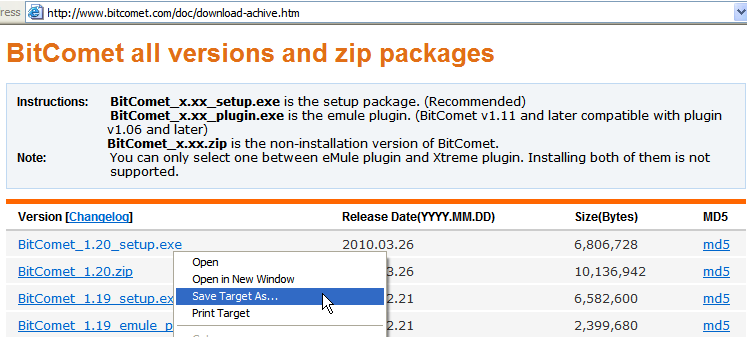
Or 2)Download previous versions from the BitComet Archive. Right-click on the version and package type you wish to download, and select “Save target as…”.
- <html><span style=color:Teal>Please note:</span></html> it's not recommended to download versions other than the latest one, unless you have a strong preference on a particular past version.
- Most versions have an installer (Setup) package, and a “green” (.ZIP) package that does not require installation. The installer package is the best choice for most people. More details
Install BitComet
Navigate to the location where you saved the setup file, double-click it to start the installation.
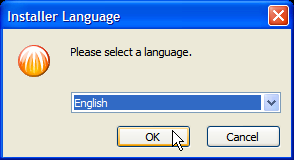
Select Language
Select your language and click “OK” to continue. (This selects the language for the installer, not for BitComet itself.)
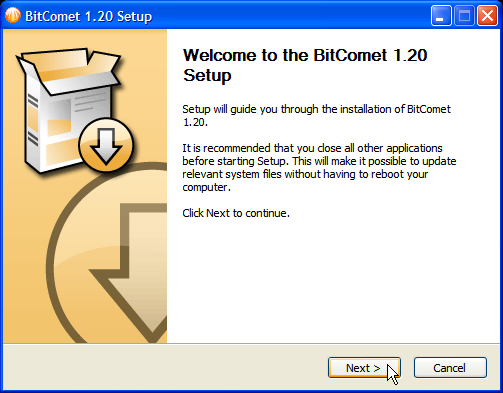
Setup Wizard
The Setup Wizard will guide you through the rest of the installation. Click “Next”.
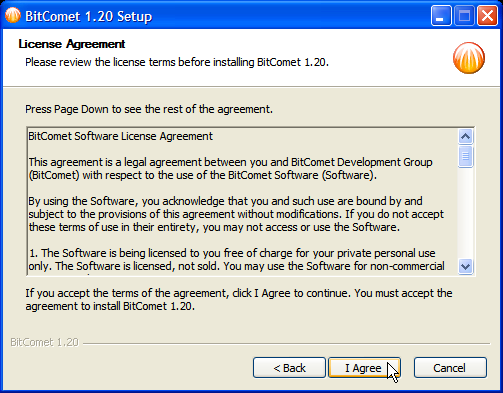
License Agreement
Read through the License Agreement. You must click “I agree” to continue. If you do not agree, click “Cancel” to exit, and BitComet will not be installed on your computer.
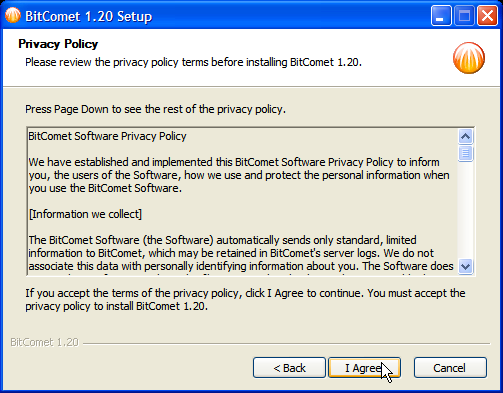
Privacy Policy
The Privacy Policy describes what information we will collect and what we do with it. You must click “I agree” to continue. Otherwise, click “Cancel” to exit, and BitComet will not be installed on your computer.
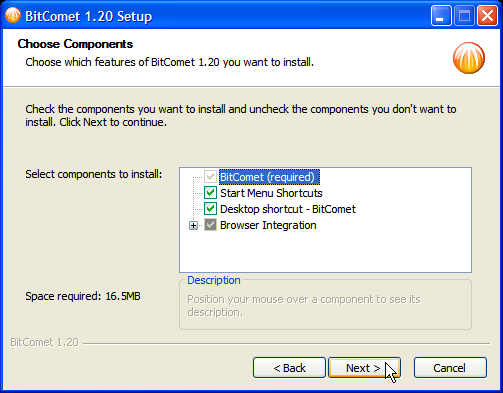
Choose Components
Select the menu items and shortcuts that you wish to install (see snapshot). Click on the “+” button next to “Browser Integration” to view and control BitComet options to be added to your web browser. The default selections are preferred by most people. Click “Next” to continue.
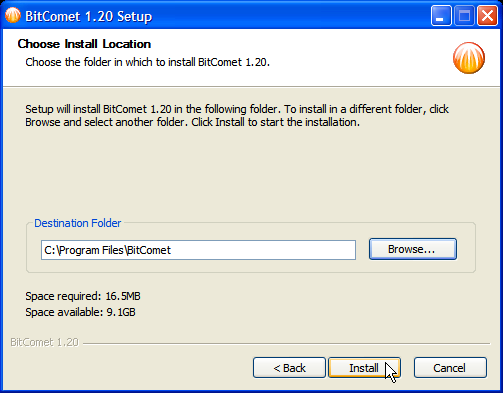
Installation Location
Select the destination folder where you wish to install BitComet. (The default pathname is preferred by most users). Click “Install” to begin the installation.
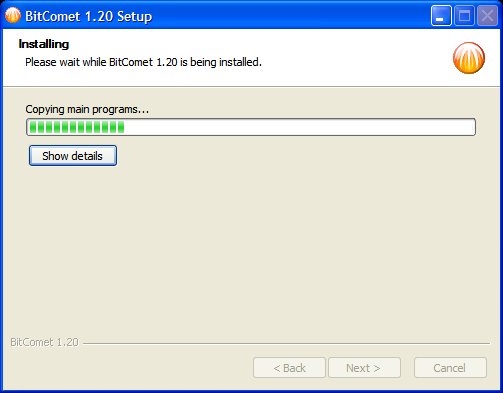
Installing
The installation will take a few minutes. Please wait for it to complete.
Other setup
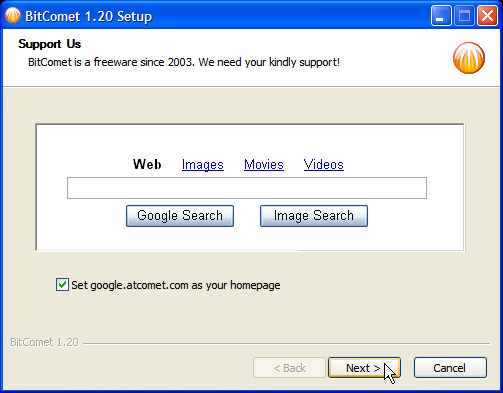
Installation of BitComet is completed, it is recommended to set google.atcomet.com as the homepage (This is optional). You can support us by ticking the box.
Finish Installation
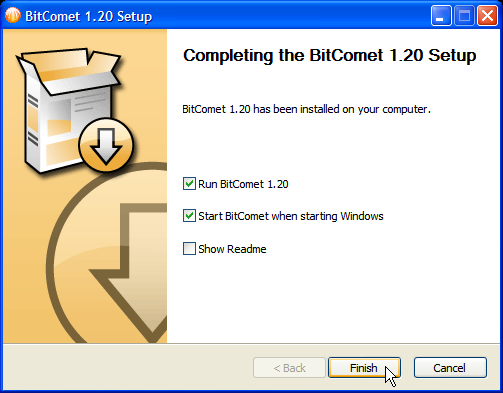
When you see this screen, BitComet has been successfully installed. You have the options to:
- run BitComet now,
- automatically start BitComet when Windows starts (you can change this later if you wish), and
- view the ReadMe file which contains late-breaking news about this version.
Click “Finish” to exit the Setup Wizard.
"Green", or Non-installed BitComet version
(You must already have an archive extraction program installed and know how to use it.)
The archive contains two .exe files: BitComet_Win9x.exe and BitComet.exe.
- BitComet_Win9x.exe is for use with Win95, Win98 or WinMe.
- Use BitComet.exe under Win2K, WinXP, Vista or later versions.
You will only need to install one of them, and you can delete the other one to avoid confusion.
You are expected to know your way around your computer, files, archives and associated terminology. We do not offer support or help for this version. Hence please don't use the green version if you're not fully familiar with it.
Upgrade (or Downgrade): Install another version over an existing version
Simply download and install the desired version right over your current version, as stated above.
<html><span style=color:RoyalBlue>Tip:</span></html> The previous (old) Task List and options/preferences remain unaffected by this process.
(If you wish to perform a “clean” install, removing all tasks and options, then uninstall the old version using “Add/Remove Programs”, and delete the installation directory (default is C:\Program Files\BitComet) with all of its contents. Then install the new version as above.)
Possible installation problems related to UAC
User Account Control (UAC) is a technology and security infrastructure introduced along with Microsoft's Windows Vista and Windows Server 2008 operating systems and also present in the subsequent versions such as Windows 7. It aims to improve the security of Microsoft Windows by limiting the access rights of the software applications running in Windows to standard user privileges, by default, until an administrator authorizes an elevation.
Because running the BitComet installation package needs administrator privileges, in certain cases, unsuitable combinations between certain UAC settings and the user account type, may lead to installation failure.
 As a basic guideline you should keep in mind that if you have
 disabled UAC then you should run the BitComet installer under
 administrator account to make sure that the process won't fail.
Read this to learn more about the installation package and UAC.

